How can I install extra modules/extensions on my cloud?
With a Cloud server you are in control of what packages and PHP versions are active, so you can for example use older PHP versions. If you want to install a new PHP version or extension, we will show you how to do exactly that, using EasyApache 4 in this article.
Important: The steps in this article are based on EasyApache 4, if your Cloud server still uses EasyApache 3 or older please contact [email protected] for an upgrade to EasyApache 4.
Steps to install PHP versions and extensions
Step 1: Log in to WHM.
Also read: How do I log in to WHM or cPanel?
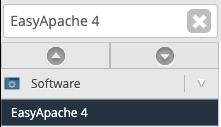
Step 2: Search for EasyApache 4 in the search bar in the top left of your screen, and click EasyApache 4.

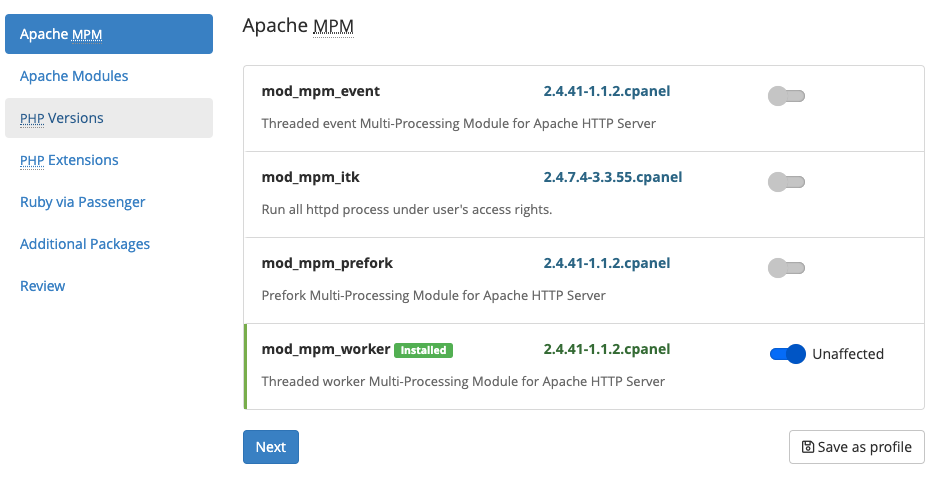
Step 3: You will now see all active packages and modules. In this example PHP version 7.3 is not active, so we will install that. Click the blue Customize button, this will customize the currently active package. If you customize a different package you risk losing the current settings.

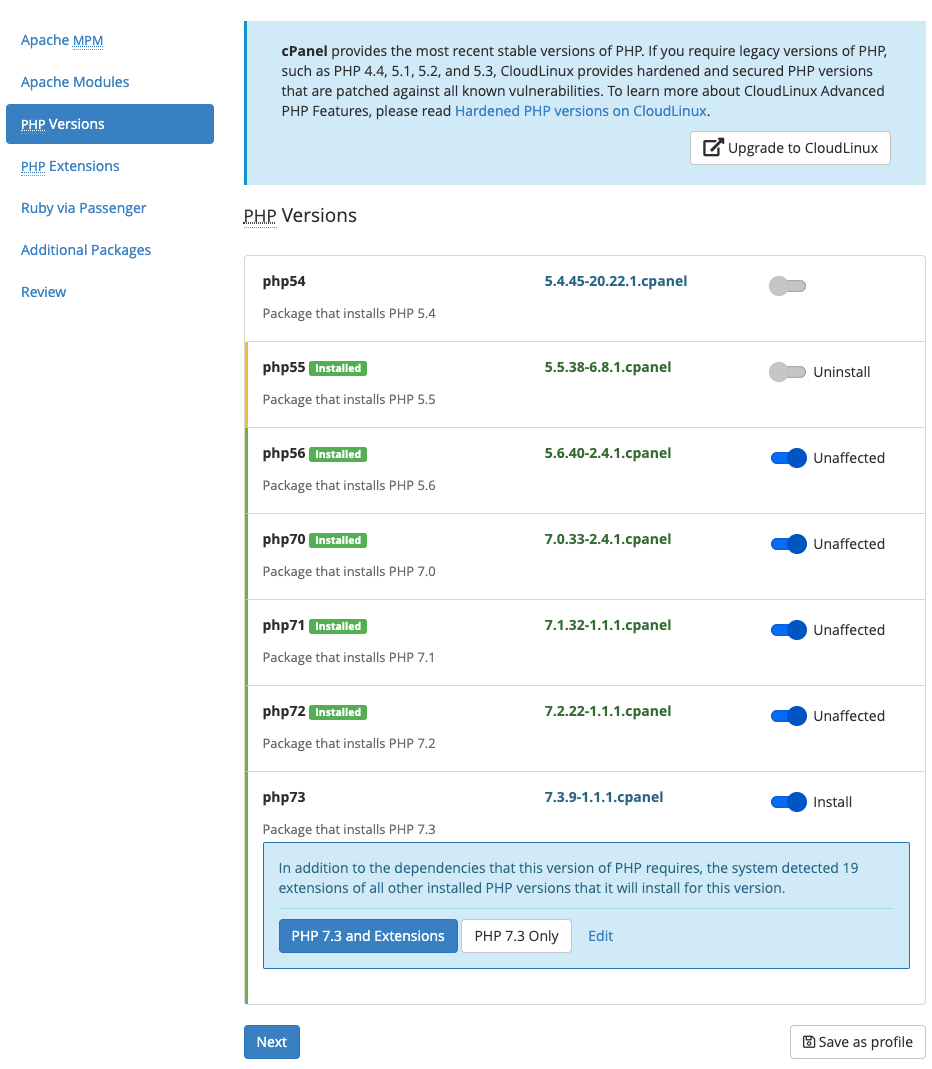
Step 4: Select the desired changes. In this example we are looking to install PHP versions, so we will click PHP versions on the left hand side.

Step 5: Make the desired changes. In this example we will uninstall PHP version 5.5, and we will install PHP version 7.3 by clicking PHP 7.3 and Extensions.

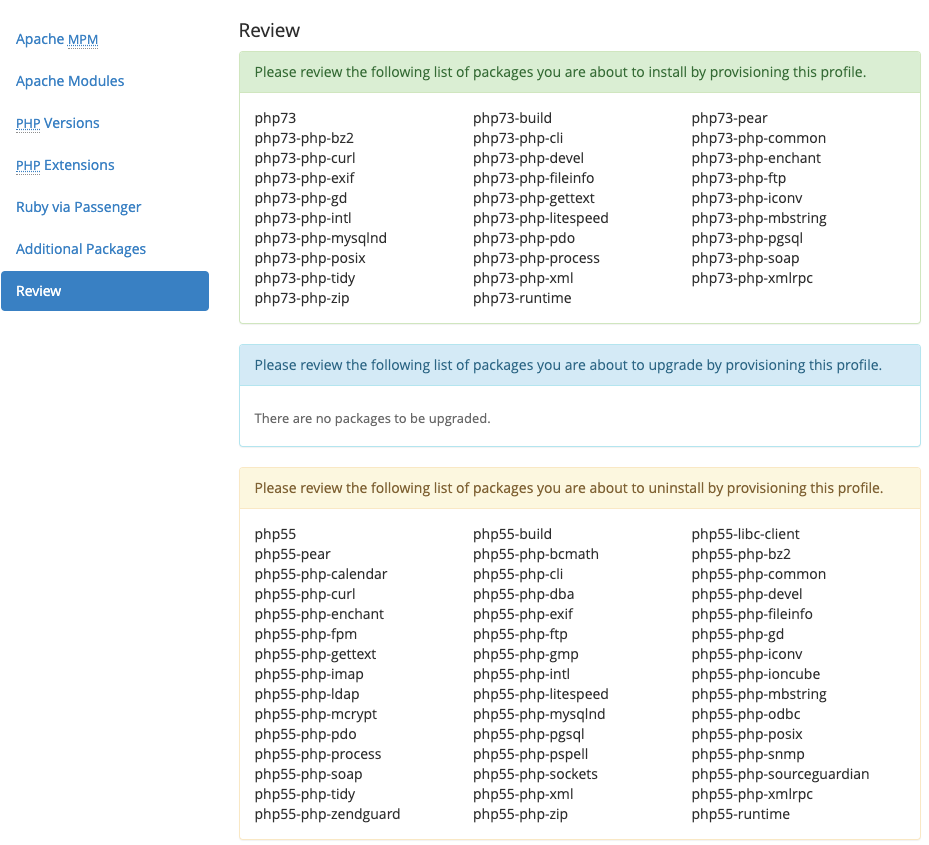
Step 6: Click Review. EasyApache will now prepare the new package for installation and show you the screen below when all changes are ready to be reviewed. Take care that you do not delete packages or modules that are used by websites on your Cloud server.

Step 7: Click Provision. The new EasyApache 4 profile will be created and installed.

Hurray, you successfully installed PHP version 7.3 along with the accompanying extensions.


